
Integrating Outlook with ServiceNow Using the “Microsoft Exchange Online” Spoke
By Noah Boltik
If your organization uses Outlook, and you're interested in integrating with ServiceNow, the "Microsoft Exchange Online" Spoke might be what you need. While ServiceNow has published this helpful article on the setup process, there are things I've learned that weren't documented and are worth sharing!
BEFORE WE BEGIN
The "Microsoft Exchange Online" Spoke can do more than interact with emails: it can also let you manage Calendars, Webhooks, and Rooms. However, in this article, we're only going to talk about the "Mail" actions. So, we'll skip many optional steps in the official documentation.
YOU WILL NEED
A Dev instance – Unfortunately, Personal Developer Instances don’t have access to this plugin, so a proper Dev instance is required. However, your instance doesn’t need a MID server to access Mail actions, despite what the documentation implies.
Microsoft Azure Admin account – You’ll need admin access to the Microsoft Azure Portal.
Integrationhub rights – To use any Spoke, you’ll need IntegrationHub.
SETTING UP
Installing the Spoke
Navigate to “All > System Definition > Plugins”
Install the Microsoft Exchange Online Spoke

Registering the Application in Azure
Once installation is complete, the next step is logging into https://portal.azure.com/
Click on “App Registrations”

Then “New Registration”

Fill out the form, using the format https://<instance-name>.service-now.com/oauth_redirect.do for the redirect URI

Specifying Permissions
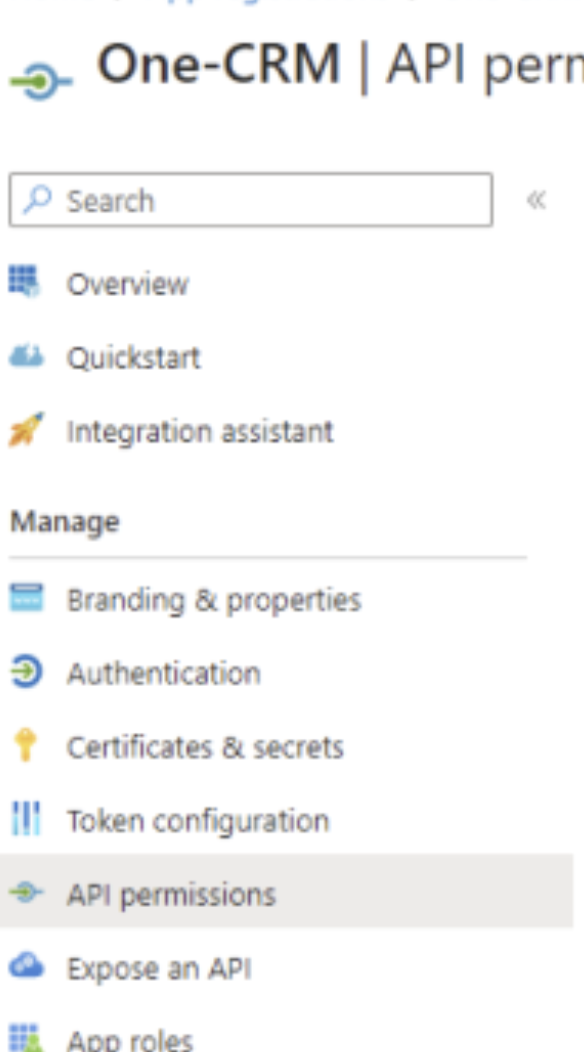
Navigate to “API Permissions” on the side nav
Click the “Add a permission” button
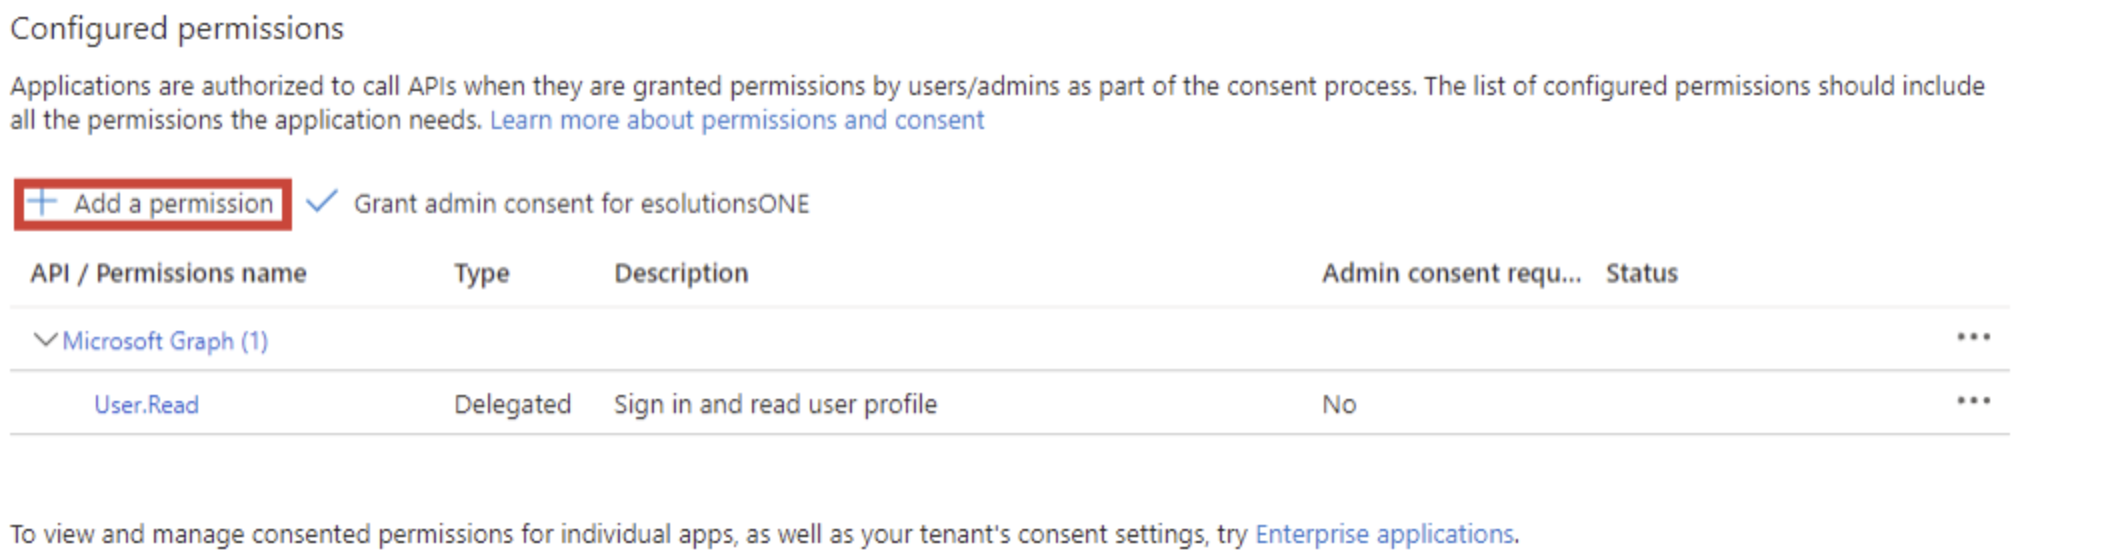
Select “Microsoft Graph,” then “Application permissions”

Search “mail” and add the following:

Creating (and recording) the secret
Go to “Certificated & secrets,” and click “New client secret”

Remember to copy the secret! This becomes hidden once you navigate away from this page. Don’t make the same mistake I did my first time. If you do, simply create a new secret.
Getting the client and directory IDs
Navigate to the “Overview” section, and copy the “client” and “directory” IDs for the next step.

Registering the application in ServiceNow
In ServiceNow, navigate to “All > System OAuth > Application Registry”.

If you installed the spoke correctly, there should be an option called “Microsoft Exchange Online”

Use the information from the previous section to fill out the following fields
Client Secret: <This is the secret from step 3>
Client ID: <Client-ID>
Authorization URL: https://login.microsoftonline.com/<Directory-ID>/oauth2/v2.0/authorize
Token URL: https://login.microsoftonline.com/<Directory-ID>/oauth2/v2.0/token
Redirect URL: https://<instance-name>.service-now.com/oauth_redirect.do
Submit the record. You should now see a new record called “Microsoft Exchange Online default_profile” in the Oauth Entity Profiles related list.
Since we’re only configuring our application for mail basic actions, we don’t need to configure the “Microsoft Exchange Online_clientCredentials” Application Registry.
Creating the Credentials
Navigate to “All > Connections & Credentials > Credentials.”
Create a new record
Fill out the form, selecting the OAuth Entity Profile generated during the last step. Leave everything else default.

Save the record, then press the new “Get OAuth Token.”

You will then be prompted to sign into your Azure account and give mail permissions to ServiceNow.
Creating the connection
Almost done. Navigate to “All > Connections & Credentials > Connection & Credential Aliases.”
Select the “Microsoft_Exchange_Online” record.

Create a new “Connection” record from the related list.

Fill out the form as follows:
Name: Exchange_Online_Connection
Credential: Exchange_Online_Credentials (The one from the previous step)
Connection URL: https://graph.microsoft.com

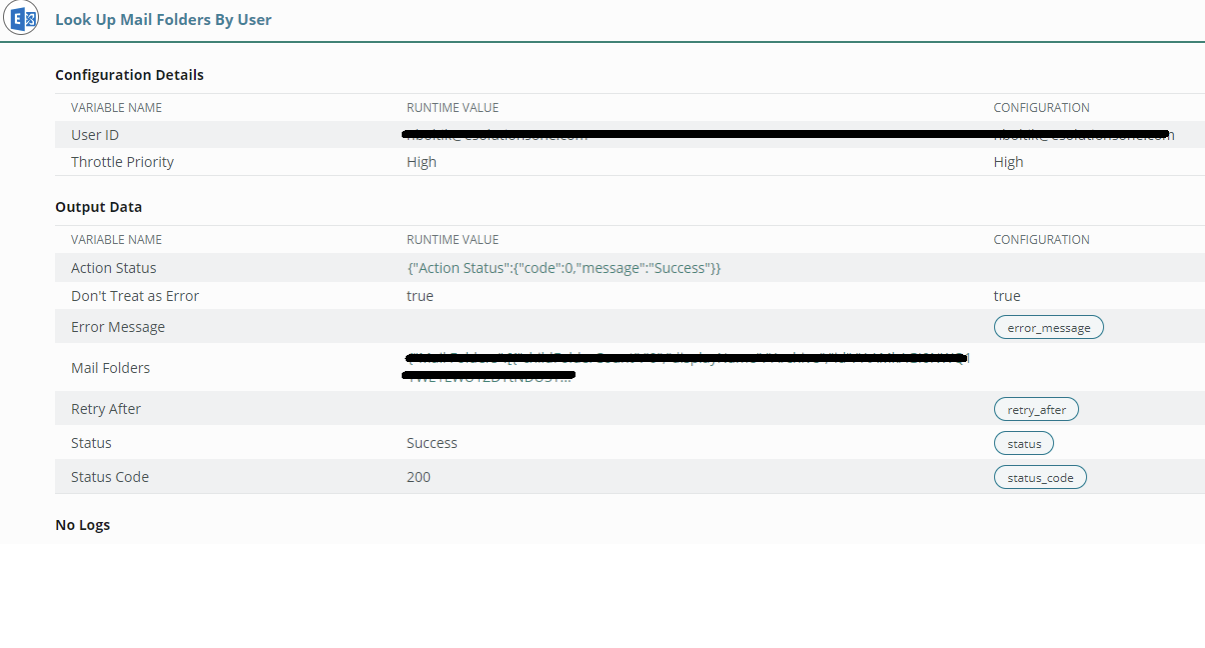
Testing in Flow Designer
Create a test Flow and add the “Look up mail Folders by User” action.
For “User ID”, enter an email address belonging to your organization

Add a trigger condition and test the Flow

Congratulations! You should now be getting your mail info.
