Setting Up the Now UI Framework on Windows
By Jon Lucktenberg
Setup
Note: Anything in <> brackets with be replaced with details by the person reading this article (ie. The user’s credentials for basic auth, foldername, project name, etc…)
Install Node & NPM
Install nvm (node version manager) here.
Download the setup zip file
-Shown in figure 1 below
2. Unzip and right click to run as administrator and accept defaults
3. Open command prompt as administrator
4. Run “nvm install 12.6.0” to install node 12.6.0
5. Enter “nvm use 12.6.0” in to the command prompt to set the correct version of node
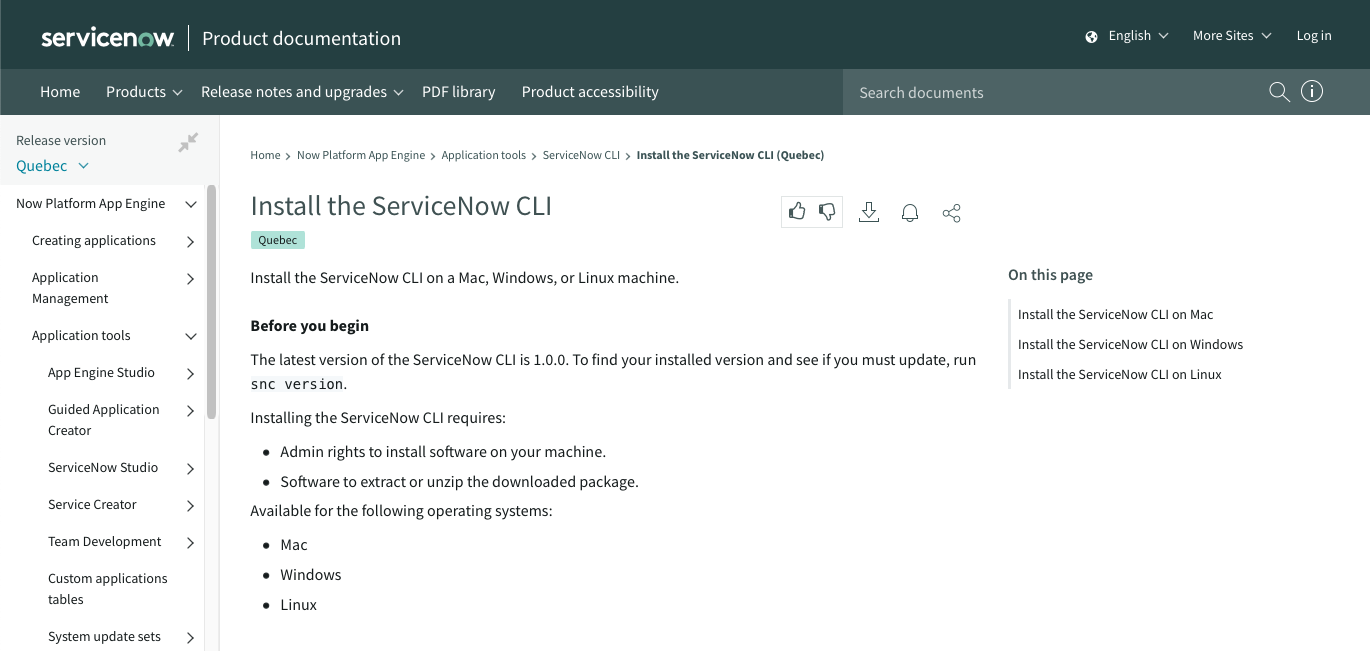
Download and ServiceNow CLI here.
Unzip and run as administrator snc-1.1.0-windows-x64-installer using default selections
-Application file not run file-Security warning may appear, if so, choose “Yes” to prompt
Open the command prompt as an administrator
Next install the ui-component extension
4. Install the latest version of yo
Note: yo (https://yeoman.io/) is installed with the ui-component extension. It is a scaffolding tool that's leveraged by now-cli, but is out of date in the ui-component build.
Configure your CLI
Enter the following into your command prompt
2. Host: <MYINSTANCE>.service-now.com
- Your instance cannot be inactive/sleeping when you try to connect
3. Login Method: Basic
4. Username: <MYUSERNAME>
5. Password: <MYPASSWORD>
6. Output method: JSON
7. Ignore warning of instance “not supporting”
Create a project folder on your computer
Make a new folder in the directory you want to develop in
-This folder must be empty in order to create a new NowUI project in itIn the command prompt use cd to navigate to your project folder.
3. Create a project. Name MUST have a – in it.
4. Install dependencies
-This always needs to be run after creating a new project
Open Visual Studio Code
In Visual Studio, go to file -> open folder. Navigate to your project folder
You should be developing in the index.js in the x-123456-name folder
Developing locally
Open a command prompt and navigate to your project directory
Run the following command
3. If successful it should say “Compiled successfully”
-The command prompt should also present this when you save the changes in your index.js file
4. To see your component, enter the displayed port into your browser. Enter this into your browser to see your current work.
5. If you want to stop developing enter ctrl+c to stop development. May have to hit it a few times.
Deploying a component (stop developing before you try to deploy)
Enter the following in to the command prompt
2. If successful, you should see the following:
3. To redeploy after you make changes
4. To find and see your component go to UI builder in the ServiceNow app navigator
5. Open an existing experience and add your component to it.
-Unless you changed the name of the component it will be called my component
Setup F.A.Q.
Issues with developer instance authentication and 401 errors while trying to create new projects
-We encountered an error where the CLI would still reference an old PDI even after using snc configure profile set (This did update the config file in the CLI install folder). Using the below command seemed to fix it.
-Another error we encountered was a 401 failure when trying to create a project even though we successfully connected to the instance using snc configure profile set. Using this command seemed to address that error as well.
-We are currently unable to connect our CLIs to San Diego version instances.
-You can find old credentials stored for each instance you have connected to by navigating to Control Panel\User Accounts\Credential Manager in the control panel.


